Whenever we're working on any project, It's important to have a default formatter set up for your Code Editor.
This will improve your productivity by not wasting time in formatting the code If the line gets longer and does not fit on screen.
Also, using a formatter avoids bugs in your code so you will clearly see where your specific block starts and where it ends and helps to identify matching brackets in the code.
So in this article, we will see how to set up Prettier formatter in Visual Studio Code(VS Code).
So let's get started.
Automatically Format Code On File Save
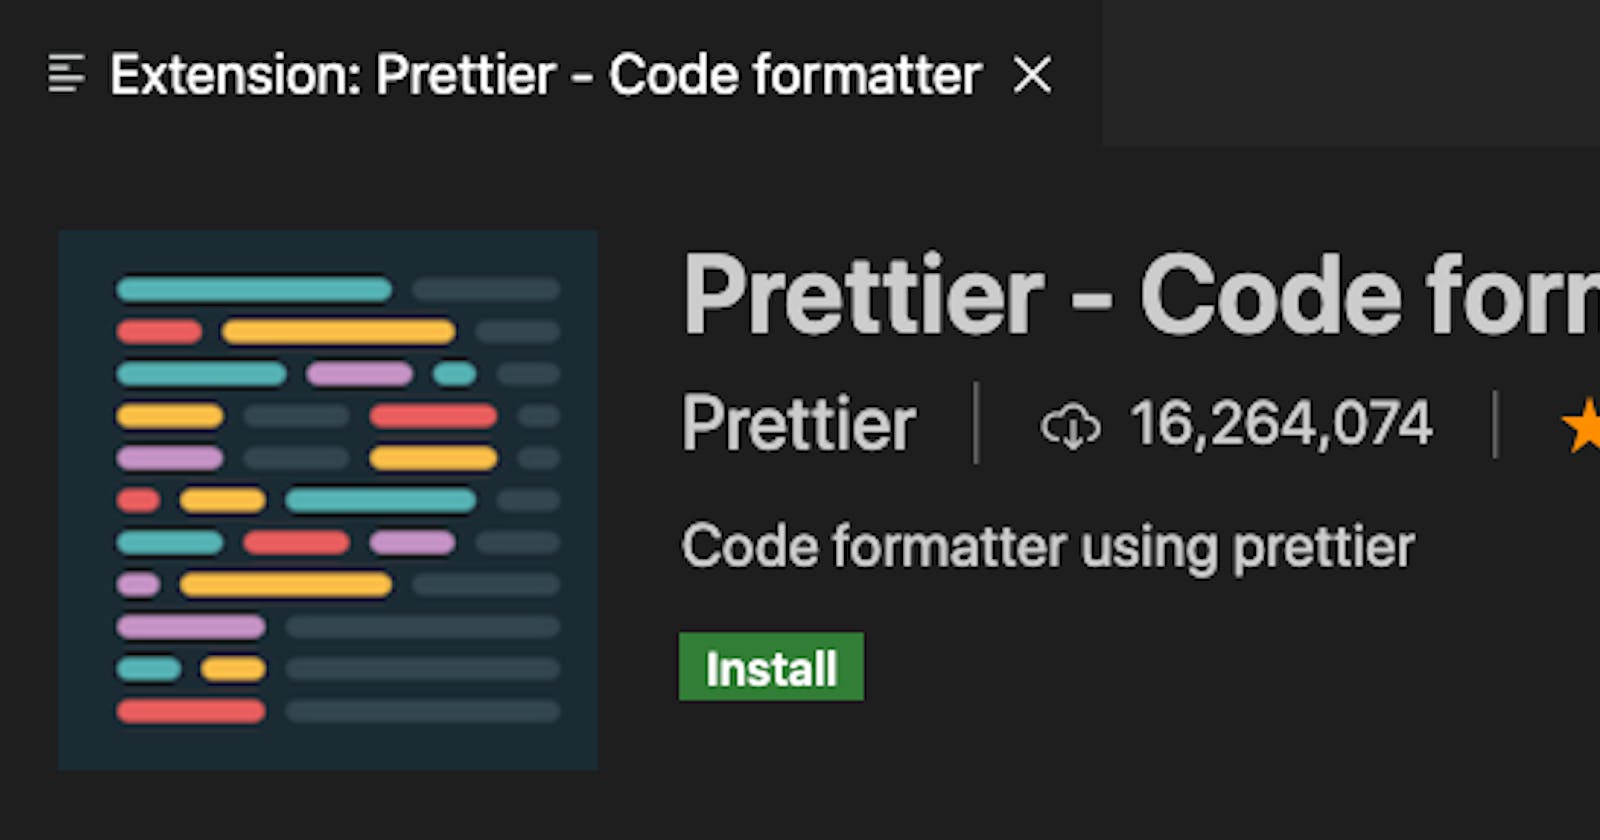
Install the Prettier extension for VS Code which formats code written in Javascript, Angular, Vue, React, Typescript and many other languages.
Installation
- Click on the extensions icon in VS Code
- Search for
prettier - You will see the extension from Prettier
- Click on the install button
- Hit the Reload button or restart the VS Code, once the extension is installed

Usage
- To automatically format the file on save, In Visual Studio Code, press
Control + Shift + PorCommand + Shift + P (Mac)to open the command palette and typesettingand then selectPreferences: Open User Settingsoption. - Search for
format on savesetting and check the checkbox.
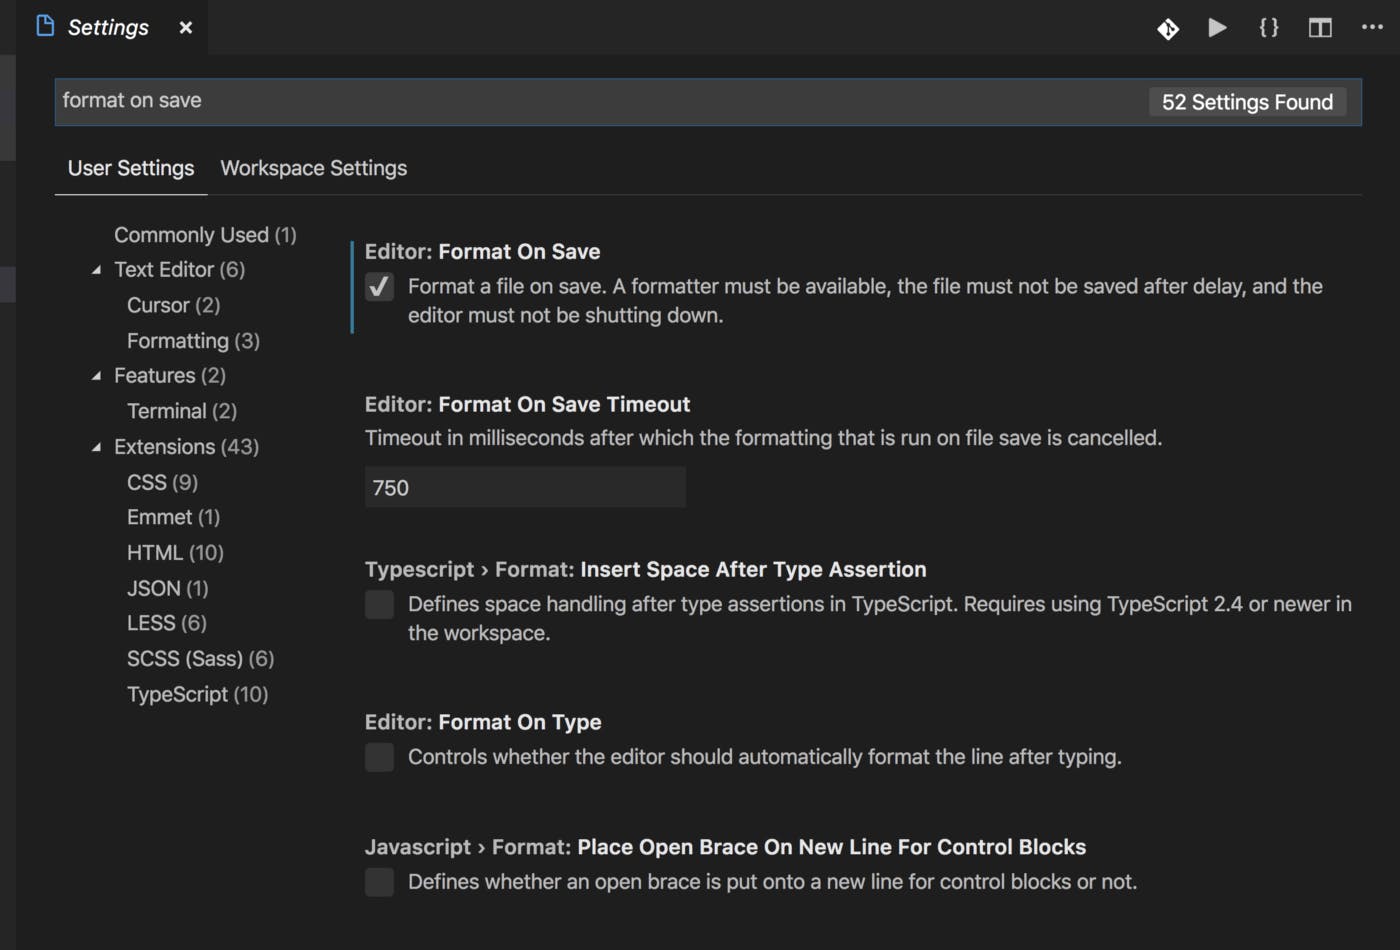
That’s it! Congratulation! You have configured prettier to format as per the default settings.
Now, open any JavaScript/React code. Let's say your code looks like this:
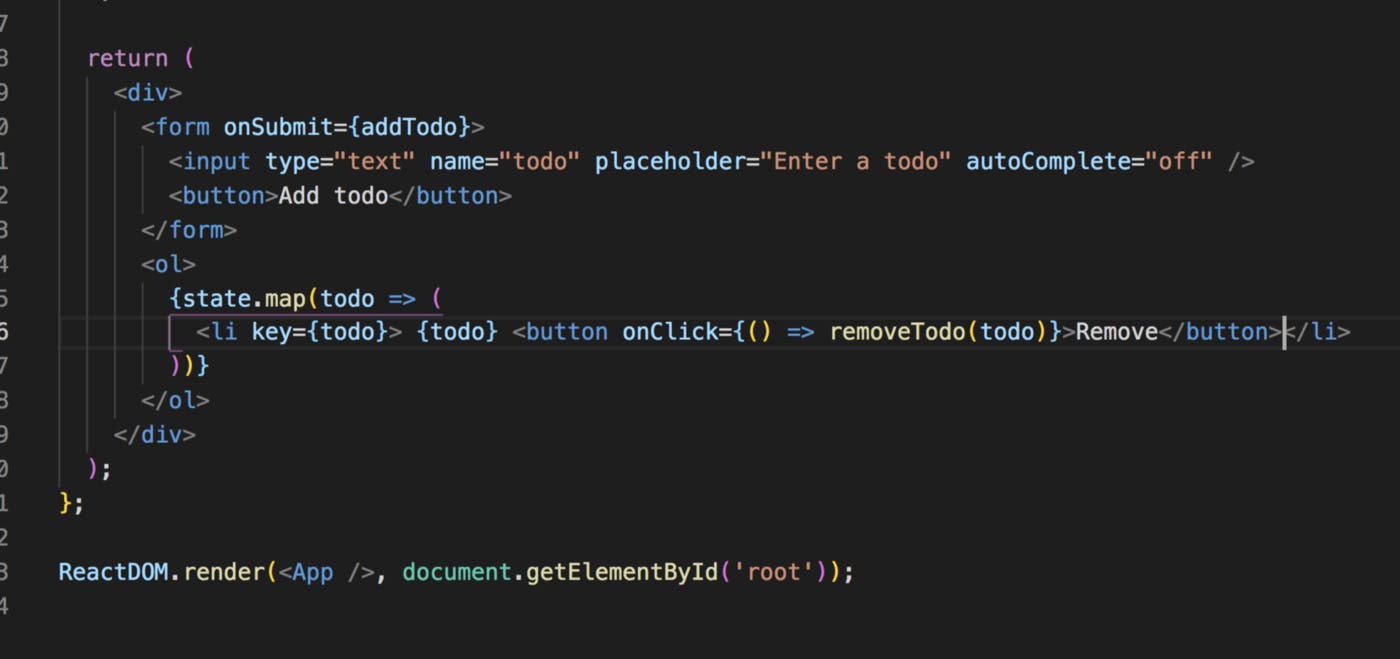
If you save the file using Ctrl + S or Command + S (Mac), the prettier will format your code as shown below:
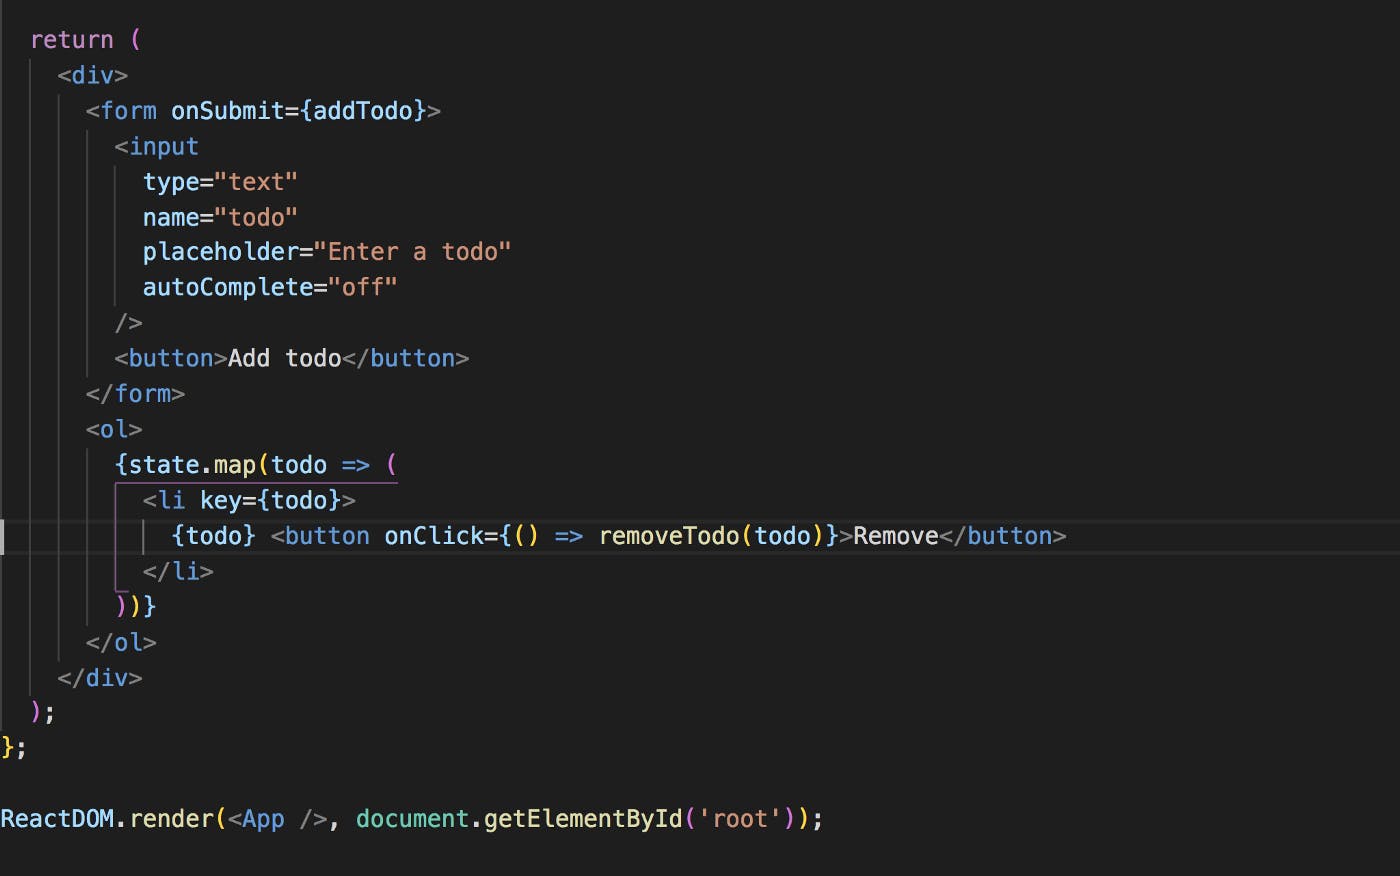
If you don't see the code formatted automatically on file save then it might be because you have multiple formatters installed in VS Code. Follow the below steps to get it working.
- Open any of the file in the VS Code
- Press
Control + Shift + PorCommand + Shift + P (Mac)to open the command palette and typeformat documentand then selectFormat Documentoption.

- Then you will be asked to select the default formatter
- Select prettier formatter from the options list
- You're done
Now If you save any file then you will see the file formatted properly.
If you have code like this:
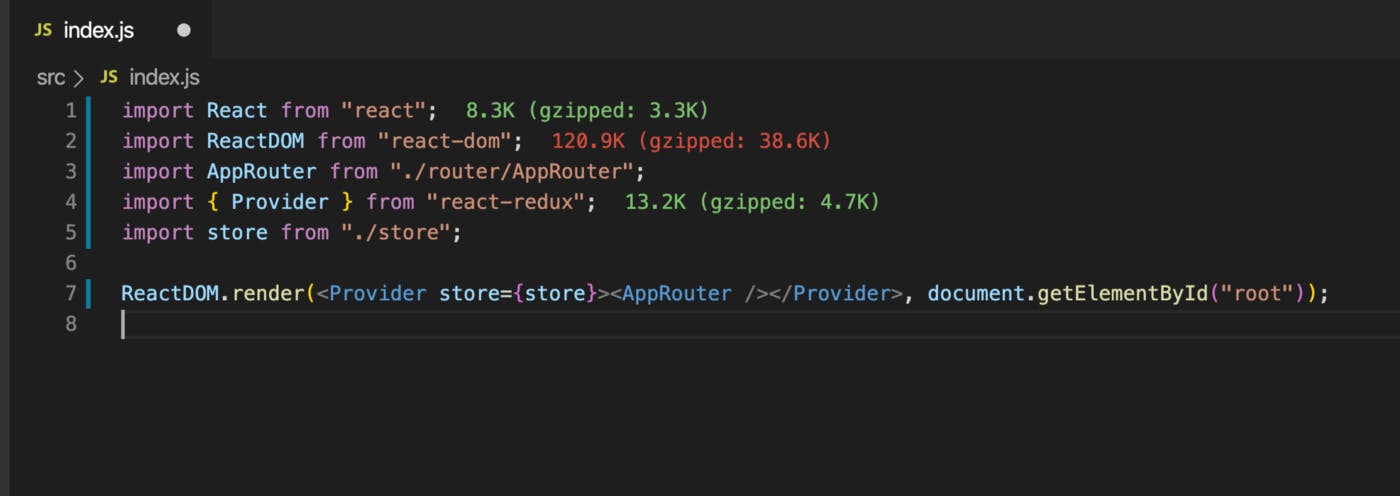
Then on saving, it will be formatted like this:
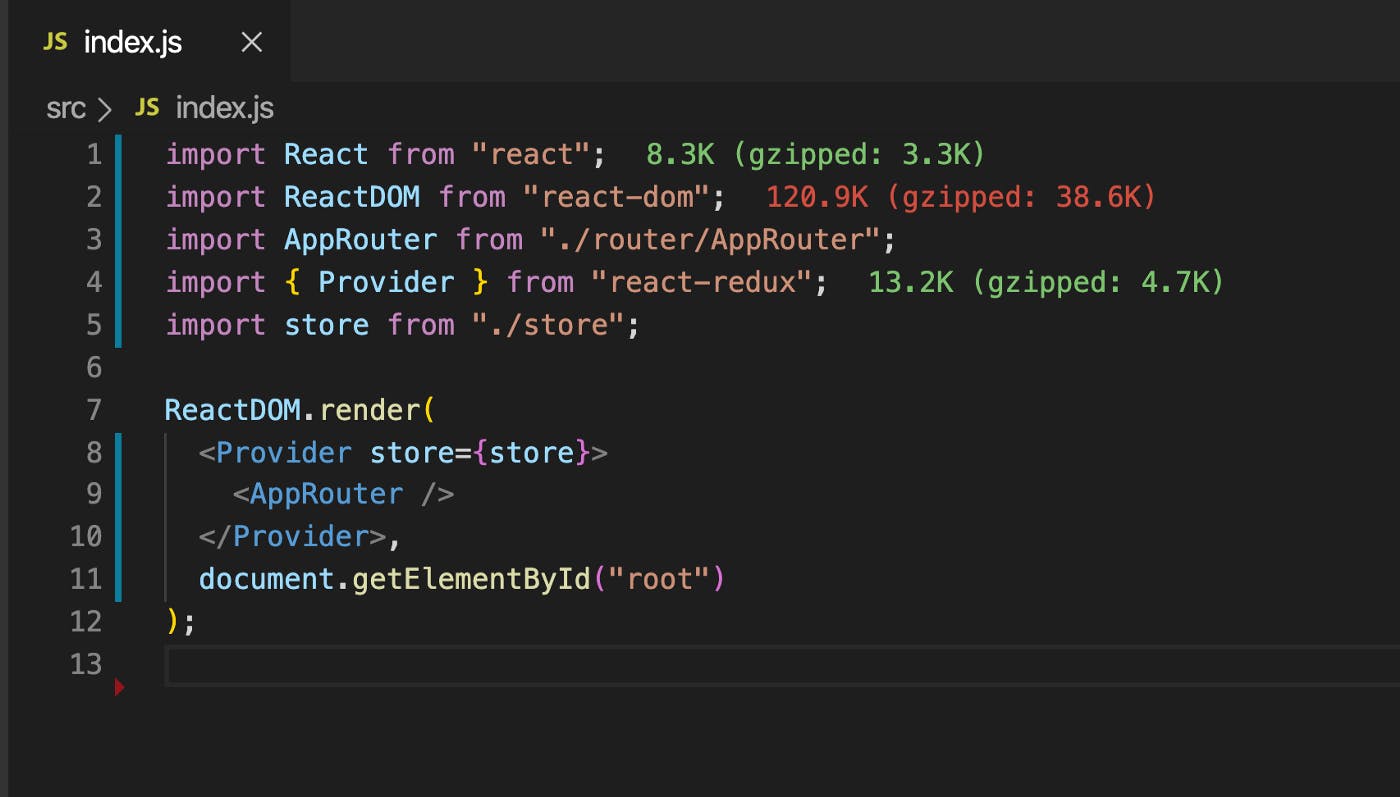
So now, you don’t have to worry about adding or removing space or moving code to the second line if it does not fit on one line. Prettier does that job for you.
Now, write the code any way you want and just save the file to format it.
This will make you more productive as you will not be wasting your time in formatting code.
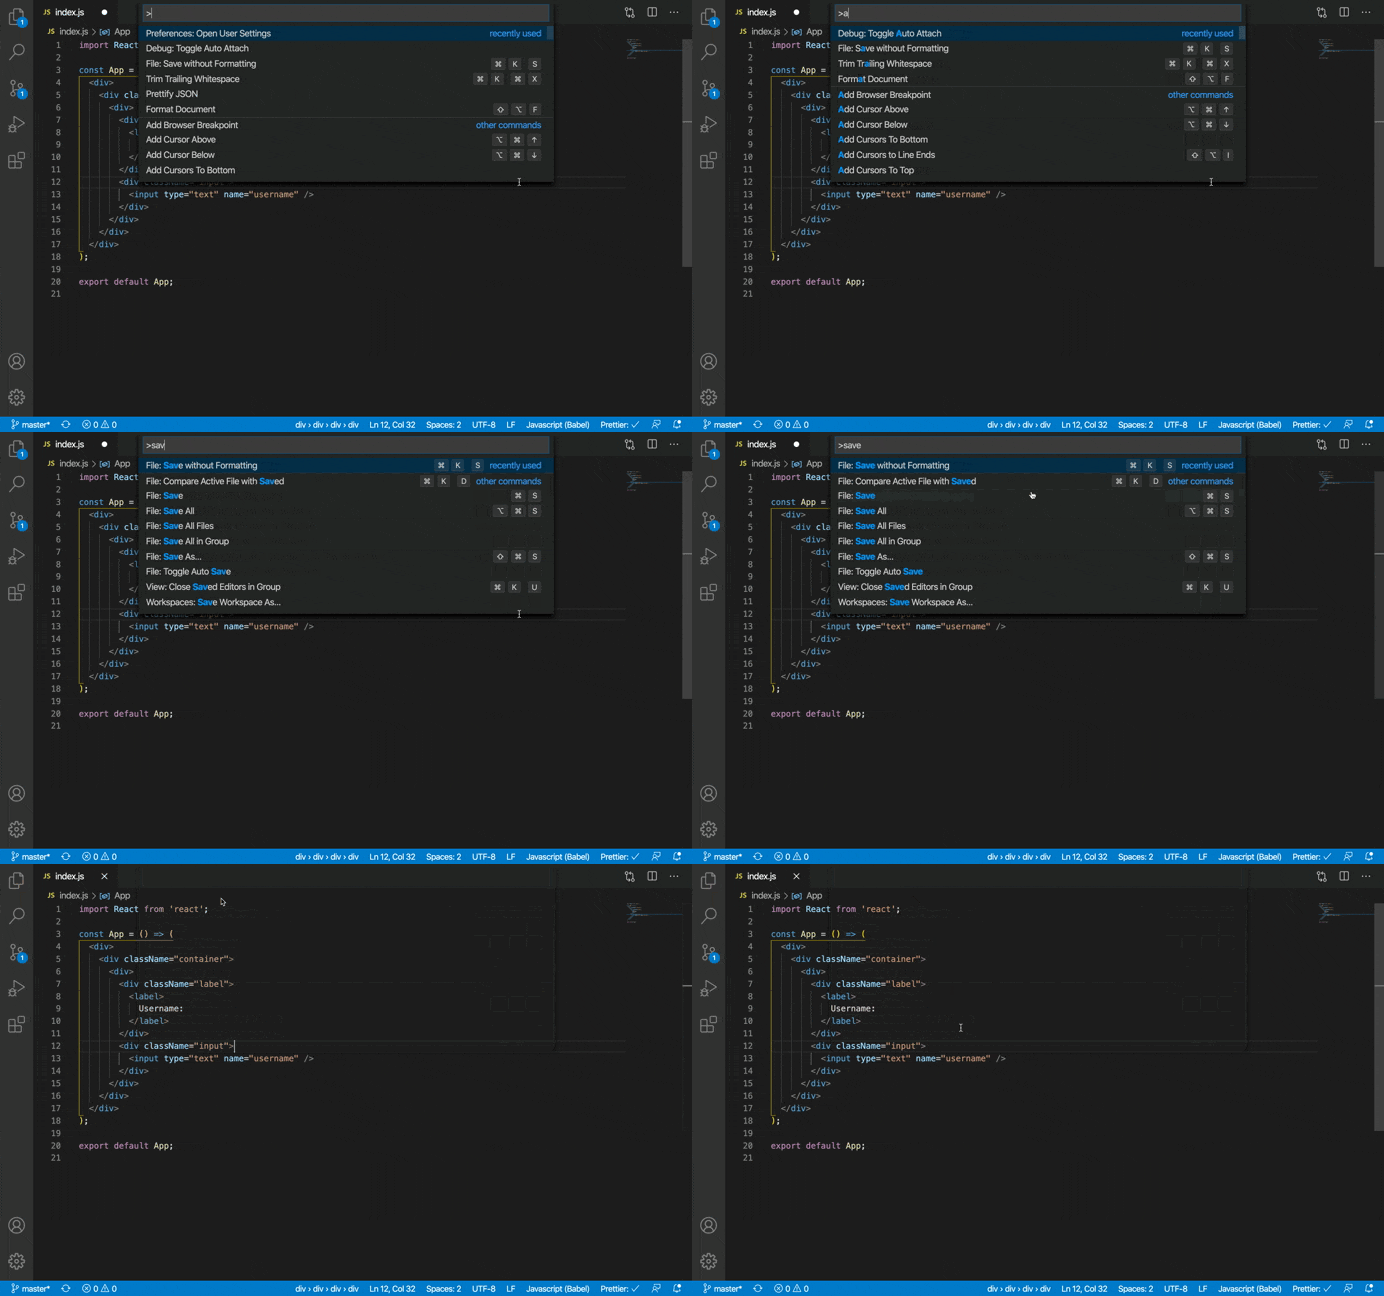
But sometimes, it may happen that, you don't want the formatting done by prettier and you want to keep your own formatting for a particular file, then you can follow the following step:
- In Visual Studio Code, press
Control + Shift + PorCommand + Shift + P (Mac)to open the command palette and typesaveand then select theSave without Formattingoption
Advanced Configurations
If you want more control over the formatting, prettier also allows that.
Create a file with the name .prettierrc (dot prettierrc) in the root of your project and add the configuration as required.
For example, add the following JSON in the .prettierrc file
{
 "singleQuote": false,
 "trailingComma": "none"
}
SingleQuote: falsewill use double quotes instead of single quotes for strings in your codetrailingComma: "none"will remove all trailing commas from object declaration in your file
You can find more configuration options HERE.
Thanks for reading!
Check out my recently published Mastering Redux course.
In this course, you will build 3 apps along with a food ordering app and you'll learn:
- Basic and advanced Redux
- How to manage the complex state of array and objects
- How to use multiple reducers to manage complex redux state
- How to debug Redux application
- How to use Redux in React using react-redux library to make your app reactive.
- How to use redux-thunk library to handle async API calls and much more
and then finally we'll build a complete food ordering app from scratch with stripe integration for accepting payments and deploy it to the production.
Want to stay up to date with regular content regarding JavaScript, React, Node.js? Follow me on LinkedIn.

