How to Create a Truly Reusable React Component from Scratch

In this tutorial, we will see, how to build an app in React with autosuggestion functionality from scratch.
In this tutorial, you will build an app with React. And you will learn how to create a truly reusable auto-suggestion component from scratch.
This application will allow a user to search for a country in a list of countries. It will display matching suggestions below the input field for the country the user has entered.
By building this application, you will learn:
- How to create a reusable component
- How to use the useRef hook to manage auto-suggestions
- How to create a custom reusable hook
- How to perform the search efficiently
and much more.
You can find the live demo of the final application here.
Below is the working demo of the auto-suggestion functionality.
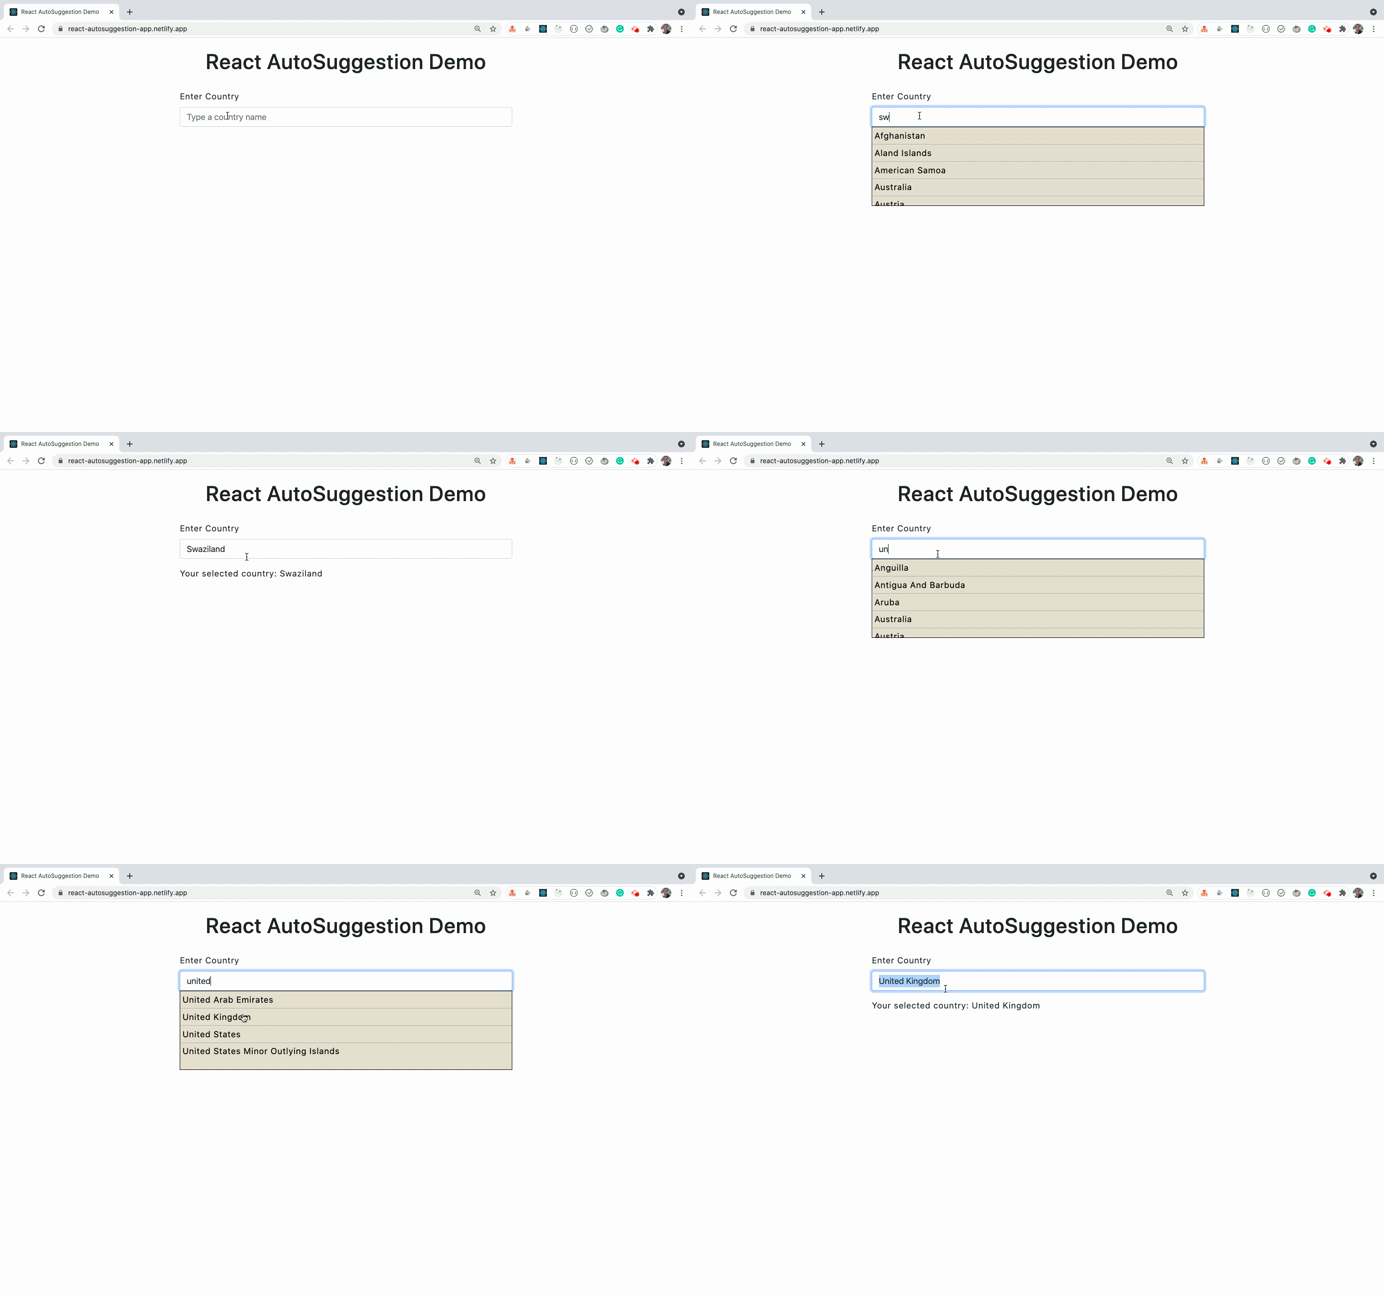
So let's get started building the app.
Limited time discount offer: Get Mastering Redux Course + Mastering Modern JavaScript book only for $14 instead of $32. Get this deal here.
Set Up the Project
We will be using create-react-app to initialize the project.
We'll be using React Hooks syntax for creating the components. So if you're not familiar with it, check out my article on hooks here.
Create a new React project by executing the following command:
npx create-react-app react-autosuggestion-app
Once you've created the project, delete all files from the src folder and create index.js, App.js, styles.css files inside the src folder.
Also, create components and custom-hooks folders inside the src folder.
Install the required dependencies by running the following command from the terminal or command prompt:
yarn add axios@0.21.1 lodash@4.17.21 react-bootstrap@1.6.1 bootstrap@5.1.0
Once those are installed, open the src/styles.css file and add the contents from this file inside it.
How to Build the Initial Pages
Create a new countries.json file inside the public folder and add the contents from this file inside it.
Create an AutoComplete.js file inside the components folder with the following code:
import React from 'react';

function AutoComplete({ isVisible, suggestions, handleSuggestionClick }) {
  return (
    <div className={`${isVisible ? 'show suggestion-box' : 'suggestion-box'}`}>
      <ul>
        {suggestions.map((country, index) => (
          <li key={index} onClick={() => handleSuggestionClick(country)}>
            {country}
          </li>
        ))}
      </ul>
    </div>
  );
}

export default AutoComplete;
In this file, we're showing the suggestions to the user once the user types something in the input textbox.
Create an useOutsideClick.js file inside the custom-hooks folder with the following code:
import { useState, useRef, useEffect } from 'react';

const useOutsideClick = () => {
  const [isVisible, setIsVisible] = useState(false);
  const ref = useRef();

  const handleOutsideClick = () => {
    if (ref.current) {
      setIsVisible(false);
    }
  };

  useEffect(() => {
    document.addEventListener('click', handleOutsideClick);
    return () => {
      document.removeEventListener('click', handleOutsideClick);
    };
  }, []);

  return [ref, isVisible, setIsVisible];
};

export default useOutsideClick;
Here, we have created a custom hook that will show/hide the suggestion box.
Initially, we have declared a state to hide the suggestion box by setting the value to false:
const [isVisible, setIsVisible] = useState(false);
Then we have declared a ref:
const ref = useRef();
We're returning this ref from our custom hook along with the isVisible and setIsVisible like this:
return [ref, isVisible, setIsVisible];
So inside the component wherever we're using the useOutsideClick hook, we can use this ref to assign it to the suggestion box. So if there are multiple input fields, then each input field will have its own suggestion box and hiding and showing functionality.
Inside the handleOutsideClick function, we have the following code:
const handleOutsideClick = () => {
  if (ref.current) {
    setIsVisible(false);
  }
};
Here, we're checking for ref.current because we want to call the setIsVisible function only if the ref for the suggestion box is available and not every time we click on the page.
Then we have added event handlers to call the handleOutsideClick function:
useEffect(() => {
  document.addEventListener('click', handleOutsideClick);
  return () => {
    document.removeEventListener('click', handleOutsideClick);
  };
}, []);
We're also removing the event handler by returning a function from the useEffect hook once the component is unmounted.
How to Create a Reusable React Component
Now, create an InputControl.js file inside the components folder with the following code:
/* eslint-disable react-hooks/exhaustive-deps */
import React, { useState, useEffect, useRef } from 'react';
import axios from 'axios';
import _ from 'lodash';
import { Form } from 'react-bootstrap';
import AutoComplete from './AutoComplete';
import useOutsideClick from '../custom-hooks/useOutsideClick';

const InputControl = ({ name, label, placeholder }) => {
  const [documentRef, isVisible, setIsVisible] = useOutsideClick();
  const [suggestions, setSuggestions] = useState([]);
  const [selectedCountry, setSelectedCountry] = useState('');
  const [searchTerm, setSearchTerm] = useState('');
  const [errorMsg, setErrorMsg] = useState('');
  const ref = useRef();

  useEffect(() => {
    ref.current = _.debounce(processRequest, 300);
  }, []);

  function processRequest(searchValue) {
    axios
      .get('/countries.json')
      .then((response) => {
        const countries = response.data;
        const result = countries.filter((country) =>
          country.toLowerCase().includes(searchValue.toLowerCase())
        );
        setSuggestions(result);
        if (result.length > 0) {
          setIsVisible(true);
        } else {
          setIsVisible(false);
        }
        setErrorMsg('');
      })
      .catch(() => setErrorMsg('Something went wrong. Try again later'));
  }

  function handleSearch(event) {
    event.preventDefault();
    const { value } = event.target;
    setSearchTerm(value);
    ref.current(value);
  }

  function handleSuggestionClick(countryValue) {
    setSelectedCountry(countryValue);
    setIsVisible(false);
  }

  return (
    <Form.Group controlId="searchTerm">
      <Form.Label>{label}</Form.Label>
      <Form.Control
        className="input-control"
        type="text"
        value={searchTerm}
        name={name}
        onChange={handleSearch}
        autoComplete="off"
        placeholder={placeholder}
      />
      <div ref={documentRef}>
        {isVisible && (
          <AutoComplete
            isVisible={isVisible}
            suggestions={suggestions}
            handleSuggestionClick={handleSuggestionClick}
          />
        )}
      </div>
      {selectedCountry && (
        <div className="selected-country">
          Your selected country: {selectedCountry}
        </div>
      )}
      {errorMsg && <p className="errorMsg">{errorMsg}</p>}
    </Form.Group>
  );
};

export default InputControl;
In this file, we've created a reusable component with search and suggestions available in the component.
Initially, we're referencing the useOutsideClick hook:
const [documentRef, isVisible, setIsVisible] = useOutsideClick();
We're storing the ref returned from the hook in the documentRef variable.
Whenever a user types something in the textbox, we're making an API call to get a list of countries with matching search criteria.
But to avoid the unnecessary API calls on every character entered in the textbox, we'll use the debounce method of the lodash library. It lets us call the API only after 300 milliseconds has passed once the user has stopped typing using the following code:
ref.current = _.debounce(processRequest, 300);
The _.debounce function call returns a function that we have stored in the ref.current variable. We will call the function stored there once 300 milliseconds have passed.
We are using ref instead of a normal variable because we need this initialization to happen only once when the component is mounted. The value of the normal variable will get lost on every re-render of the component when some state or prop changes.
We are calling the function stored in ref.current from the handleSearch function by passing the user-entered value.
So once we call the function stored in ref.current, the processRequest function will be called behind the scenes.
The processRequest function will automatically receive the value passed to the ref.current function.
Inside the processRequest function, we make an API call to get the list of countries.
function processRequest(searchValue) {
  axios
    .get('/countries.json')
    .then((response) => {
      const countries = response.data;
      const result = countries.filter((country) =>
        country.toLowerCase().includes(searchValue.toLowerCase())
      );
      setSuggestions(result);
      if (result.length > 0) {
        setIsVisible(true);
      } else {
        setIsVisible(false);
      }
      setErrorMsg('');
    })
    .catch(() => setErrorMsg('Something went wrong. Try again later'));
}
Here, once we have the response from the API, we're using the array filter method to filter out only the countries that match the provides search term.
Then we're setting out the list of countries in the suggestions state using setSuggestions(result).
Next, we're checking the length of the result array to display or hide the suggestion box.
If you check the JSX that's returned from the component, it looks like this:
return (
  <Form.Group controlId="searchTerm">
    <Form.Label>{label}</Form.Label>
    <Form.Control
      className="input-control"
      type="text"
      value={searchTerm}
      name={name}
      onChange={handleSearch}
      autoComplete="off"
      placeholder={placeholder}
    />
    <div ref={documentRef}>
      {isVisible && (
        <AutoComplete
          isVisible={isVisible}
          suggestions={suggestions}
          handleSuggestionClick={handleSuggestionClick}
        />
      )}
    </div>
    {selectedCountry && (
      <div className="selected-country">
        Your selected country: {selectedCountry}
      </div>
    )}
    {errorMsg && <p className="errorMsg">{errorMsg}</p>}
  </Form.Group>
);
Here, for the input textbox we've added a handleSearch onChange handler which looks like this:
function handleSearch(event) {
  event.preventDefault();
  const { value } = event.target;
  setSearchTerm(value);
  ref.current(value);
}
We update the searchTerm state with the value typed by the user. Then we're calling the function stored in the ref.current by passing it the value the user enters.
Calling ref.current internally calls the processRequest function where we're actually calling the API.
Then after the Input textbox, we've added a div with the ref to show the suggestions:
<div ref={documentRef}>
  {isVisible && (
    <AutoComplete
      isVisible={isVisible}
      suggestions={suggestions}
      handleSuggestionClick={handleSuggestionClick}
    />
  )}
</div>
We're showing suggestions only if isVisible is true which happens when we get results from the API inside the processRequest function.
Here, we're passing the suggestions to display in the AutoComplete component.
Once we click on any of the suggestion, the handleSuggestionClick function gets executed which is updating the selectedCountry and hiding the suggestions:
function handleSuggestionClick(countryValue) {
  setSelectedCountry(countryValue);
  setIsVisible(false);
}
How to Use the Reusable Component
Now, open the App.js file and add the following code inside it:
import React from 'react';
import { Form } from 'react-bootstrap';
import InputControl from './components/InputControl';

const App = () => {
  return (
    <div className="main">
      <h1>React AutoSuggestion Demo</h1>
      <div className="search-form">
        <Form>
          <InputControl
            name="country"
            label="Enter Country"
            placeholder="Type a country name"
          />
        </Form>
      </div>
    </div>
  );
};

export default App;
Now, start the application by running the following command from the terminal or command prompt:
yarn start
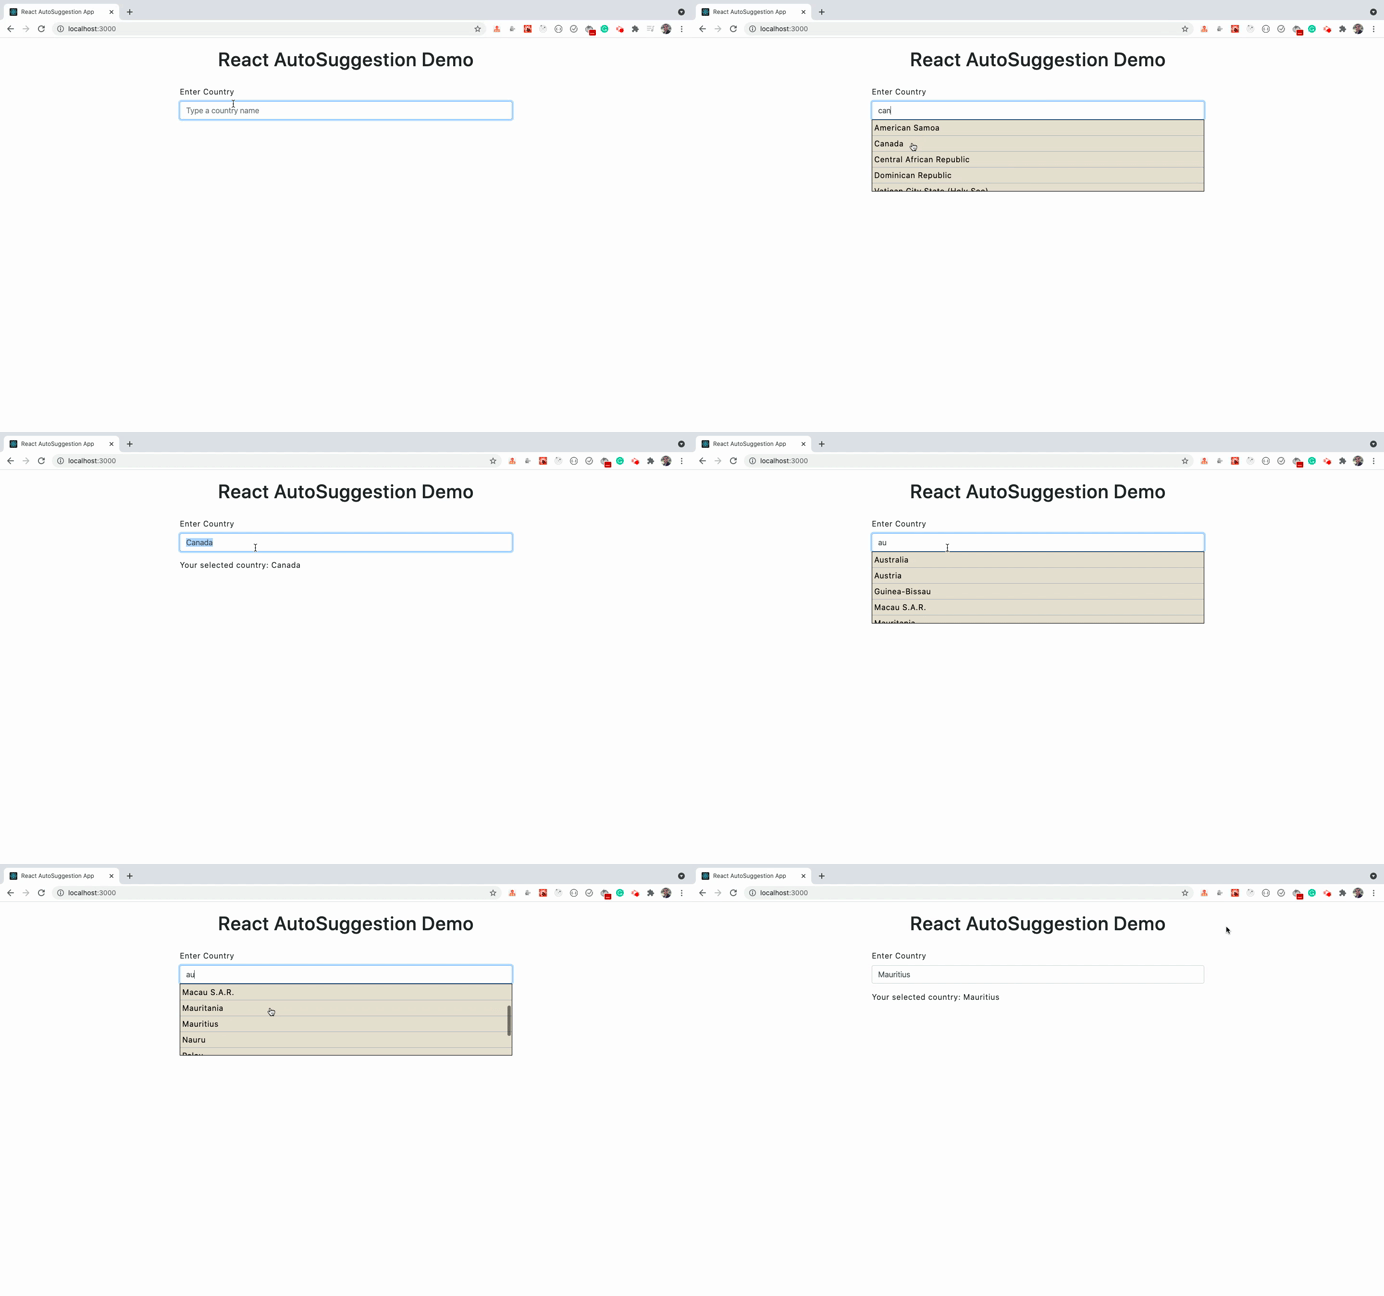
As you can see, once you select any value from the suggestion, the selected value gets displayed below the textbox.
Note: we have created a separate InputControl component that displays the input field along with its suggestion box.
So we can reuse the same InputControl component again to display suggestions in another input textbox as shown below:
import React from 'react';
import { Form } from 'react-bootstrap';
import InputControl from './components/InputControl';

const App = () => {
  return (
    <div className="main">
      <h1>React AutoSuggestion Demo</h1>
      <div className="search-form">
        <Form>
          <InputControl
            name="country"
            label="Enter Country"
            placeholder="Type a country name"
          />
          <InputControl
            name="country"
            label="Enter Country"
            placeholder="Type a country name"
          />
        </Form>
      </div>
    </div>
  );
};

export default App;
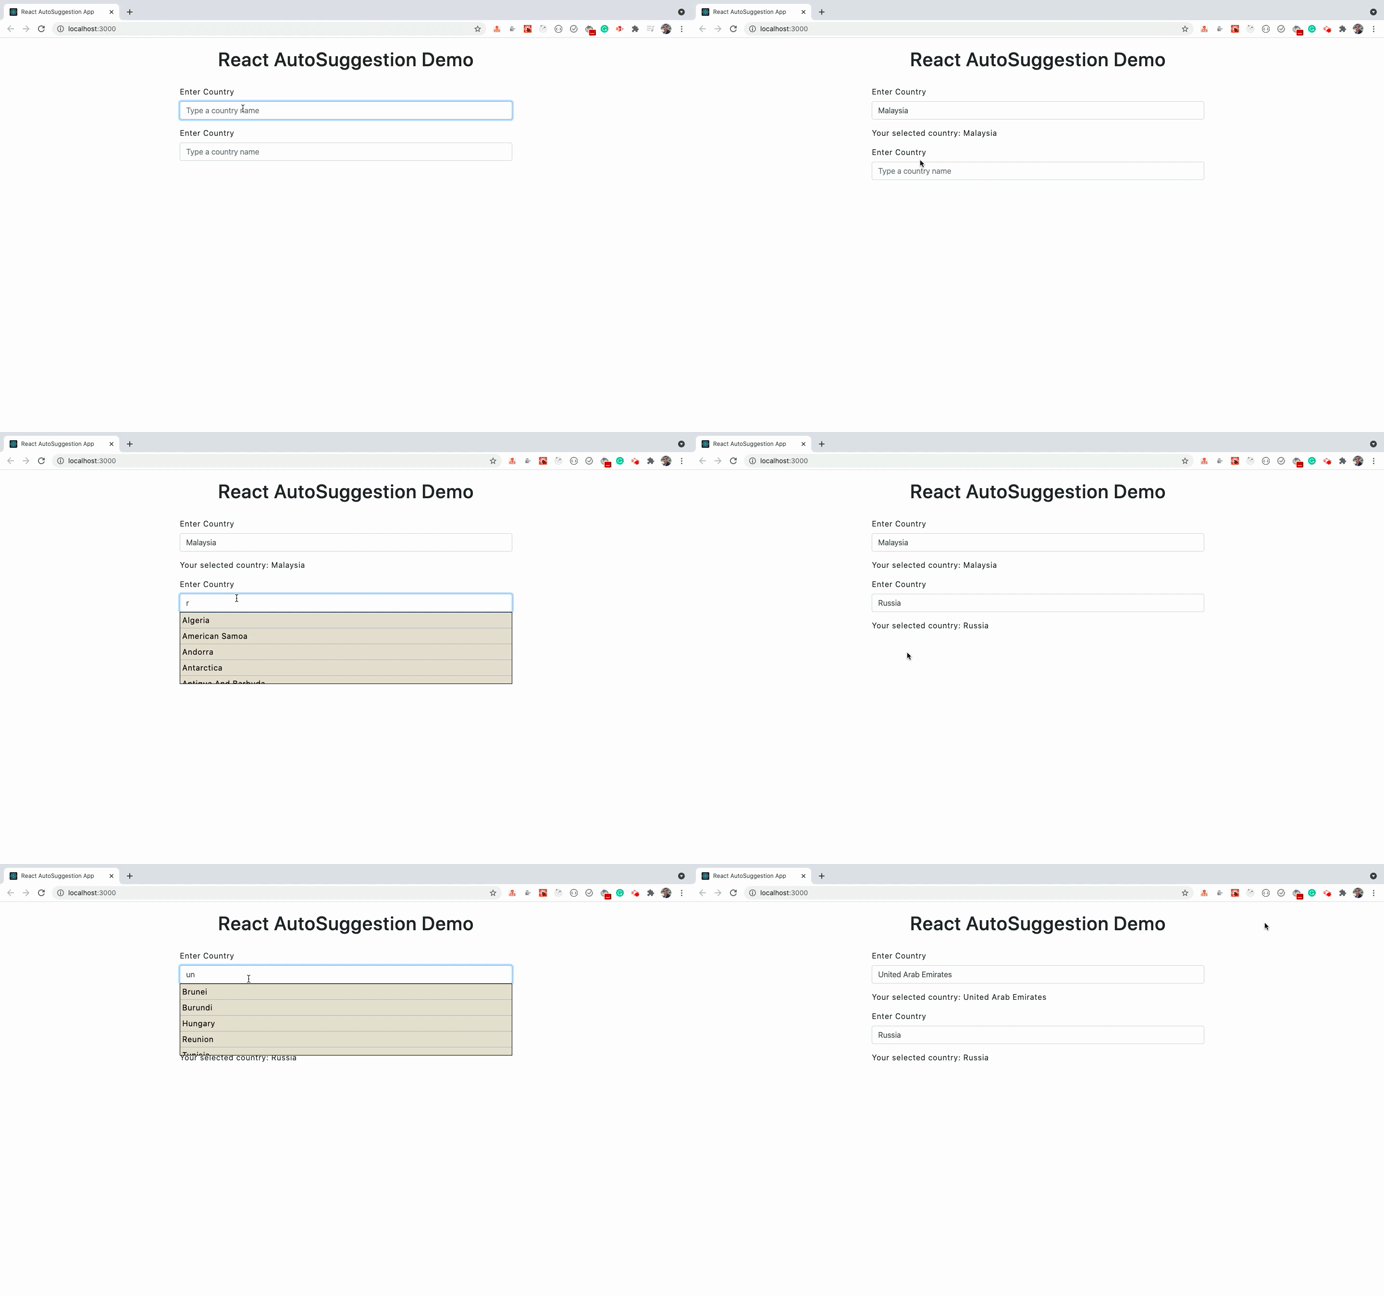
As you can see, we've added another InputControl component for the country so we're able to handle the suggestion for each input textbox separately.
So if you want to display different suggestions for another text box, you can just pass an extra prop to the InputControl component and based on that prop show different results in suggestion box.
Conclusion
As we have seen in this tutorial, by creating a reusable InputControl component and using ref to manage each input textbox's suggestion separately, we're able to create a truly reusable component for showing autocomplete suggestions.
You can find the complete source code for this tutorial in this repository and live demo here.
Thanks for reading!
Check out my recently published Mastering Redux course.
In this course, you will build 3 apps along with food ordering app and you'll learn:
- Basic and advanced Redux
- How to manage the complex state of array and objects
- How to use multiple reducers to manage complex redux state
- How to debug Redux application
- How to use Redux in React using react-redux library to make your app reactive.
- How to use redux-thunk library to handle async API calls and much more
and then finally we'll build a complete food ordering app from scratch with stripe integration for accepting payments and deploy it to the production.

Want to stay up to date with regular content regarding JavaScript, React, Node.js? Follow me on LinkedIn.

About the author
Full Stack Developer | Freelancer | JavaScript | React | Nodejs.
Loves sharing knowledge through technical articles.
Dev.to: https://dev.to/myogeshchavan97
https://linktr.ee/myogeshchavan97
Comments
Join the discussionNo comments yet. Be the first to comment.


