React Tutorial – How to Work with Multiple Checkboxes (New Course Launched - Details Inside)
When working on React project sometimes we need to display multiple checkbox options for the user.
But handling multiple checkboxes in React is completely different from how we use the normal HTML checkboxes.
So In this article, we'll see how to work with multiple checkboxes in React.
You will learn:
- How to use checkbox as a Controlled Input in React
- How to use array map and reduce method for complex calculation
- How to create a specific length array pre-filled with some specific value
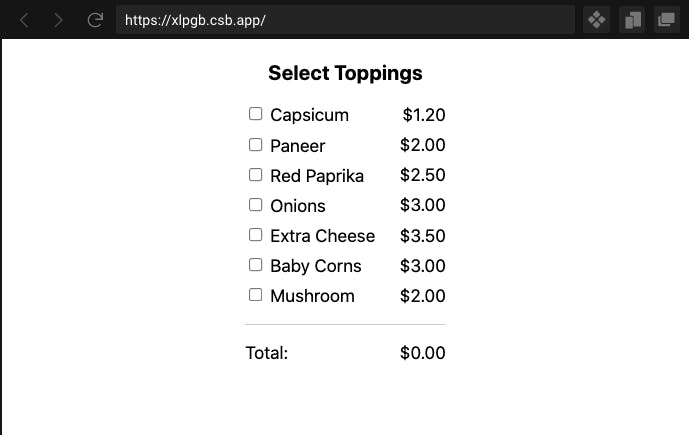
This article is a part of my Mastering Redux course. Here's a preview of the app we'll be building in the course.
So let's get started.
How to Work with Single Checkbox
Let's start with single checkbox functionality before moving to multiple checkboxes.
In this article, I will be using React Hooks syntax for creating component so If you're not familiar with React Hooks, check out my Introduction to React Hooks article.
Take a look at the below code:
<div className="App">
  Select your pizza topping:
  <div className="topping">
    <input type="checkbox" id="topping" name="topping" value="Paneer" />Paneer
  </div>
</div>
Here's a Code Sandbox Demo.
In the above code, we've just declared a single checkbox which is similar to how we declare a HTML checkbox.
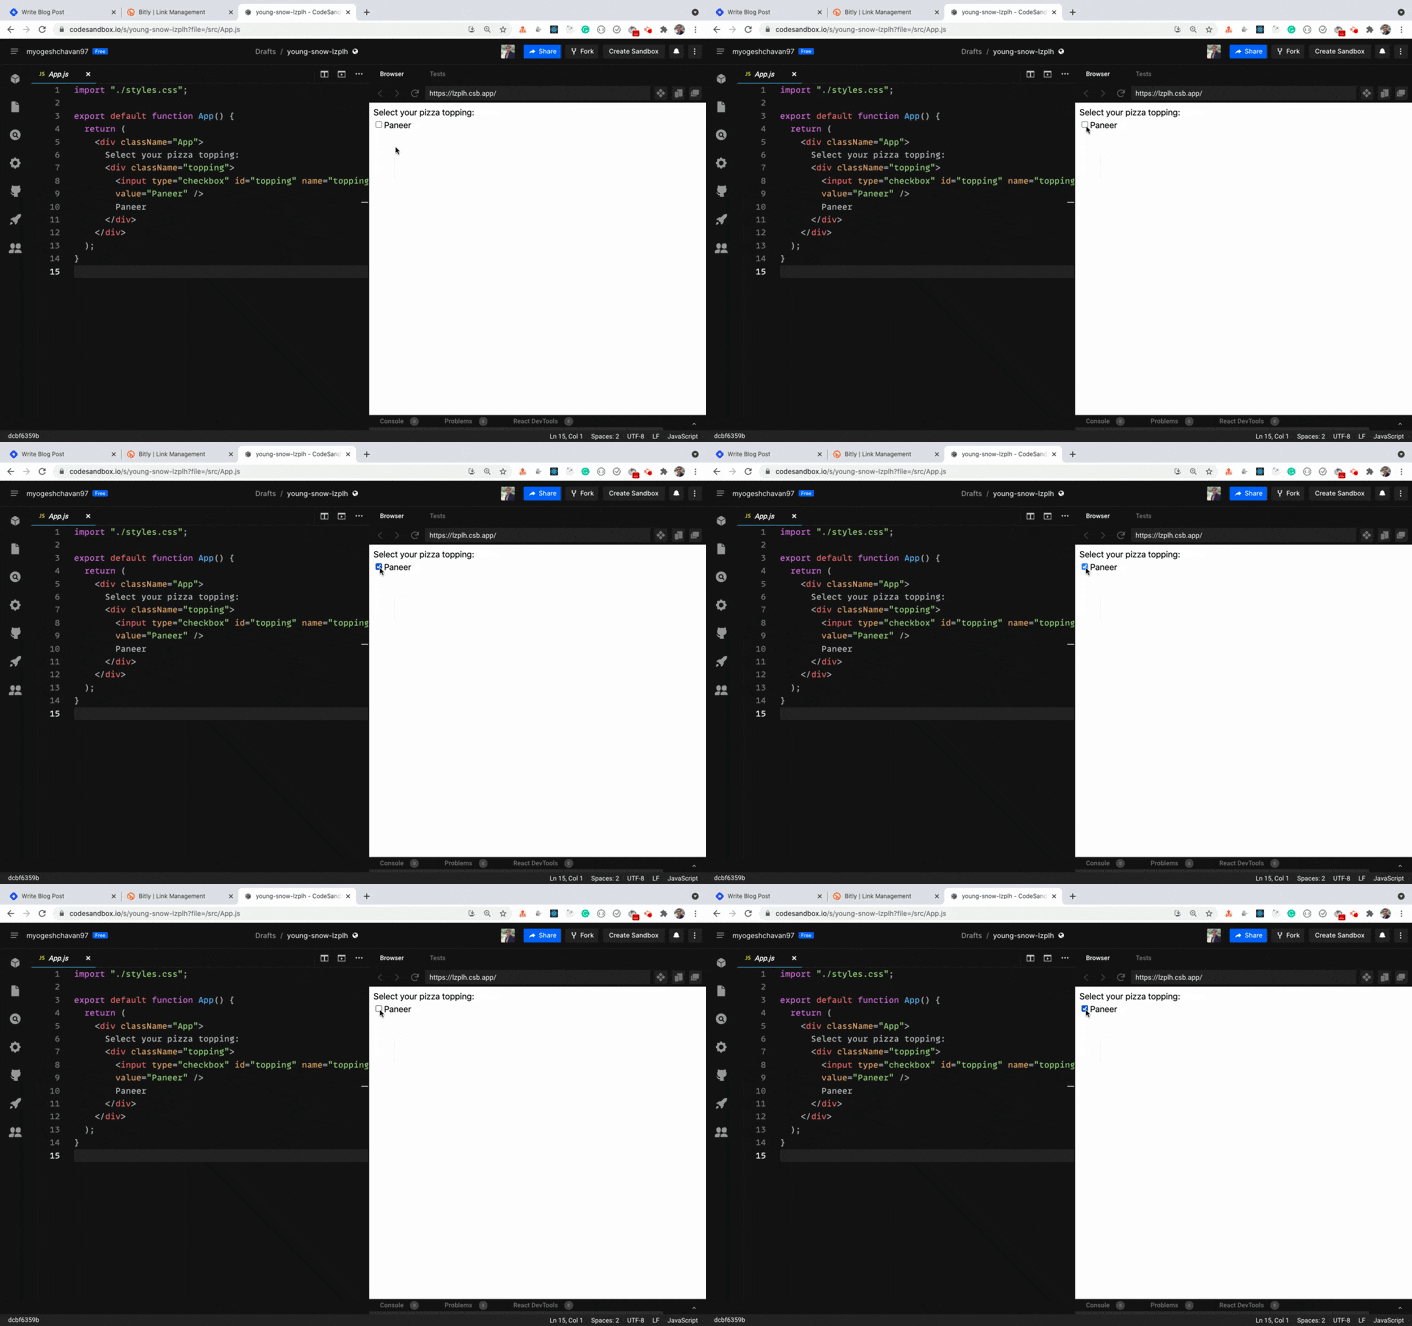
So we're able to easily check and uncheck the checkbox as shown below:

But to display on the screen whether it's checked or not we need to convert it to Controlled Input.
In React, Controlled Input is the one that is managed by state so the input value can be changed only by changing the state related to that input.
Take a look at the below code:
export default function App() {
  const [isChecked, setIsChecked] = useState(false);

  const handleOnChange = () => {
    setIsChecked(!isChecked);
  };

  return (
    <div className="App">
      Select your pizza topping:
      <div className="topping">
        <input
          type="checkbox"
          id="topping"
          name="topping"
          value="Paneer"
          checked={isChecked}
          onChange={handleOnChange}
        />
        Paneer
      </div>
      <div className="result">
        Above checkbox is {isChecked ? "checked" : "un-checked"}.
      </div>
    </div>
  );
}
Here's a Code Sandbox Demo.
In the above code, we've declared isChecked state in the component with the initial value of false using the useState hook:
const [isChecked, setIsChecked] = useState(false);
Then for the input checkbox, we've given two extra props checked and onChange like this:
<input
  ...
  checked={isChecked}
  onChange={handleOnChange}
/>
Whenever we click on the checkbox the handleOnChange handler function will be called which is used to set the value of isChecked state.
const handleOnChange = () => {
  setIsChecked(!isChecked);
};
So If the checkbox is checked, we're setting the isChecked value to false and If the checkbox is unchecked we're setting the value to true using !isChecked and that value we're passing in the input checkbox for the prop checked.
This way the input checkbox becomes a controlled input whose value is managed by the state.
In React, It's always recommended to use Controlled Input for input fields even If the code looks complicated because it guarantees that the input change happens inside only the
onChangehandler.
The state of the input will not be changed in any other way and you'll always get the correct and updated value of the state of the input.
Only in rare cases, you can use the React ref to use the input in an uncontrolled way.
How to Handle Multiple Checkboxes
Now, let's look at the way to handle multiple checkboxes.
Take a look at this Code Sandbox Demo.

Here, we're displaying a list of toppings and their corresponding price and based on which toppings are selected, we need to display the total amount.
Previously, with the single checkbox we were having only isChecked state and based on that we were changing the state of the checkbox.
But now we have a lot of checkboxes so it's not practical to add multiple useState calls for each checkbox.
So let's declare an array in the state indicating the state of each checkbox.
To create an array equal to the length of the number of checkboxes we can use the array fill method like this:
const [checkedState, setCheckedState] = useState(
    new Array(toppings.length).fill(false)
);
Here, we've declared a state with an initial value as an array filled with the value false.
So If we've 5 toppings then the checkedState state array will contain 5 false values like this:
[false, false, false, false, false]
And once we check/uncheck the checkbox we'll change the corresponding false to true and true to false.
Here's a final Code Sandbox Demo.
The complete App.js code looks like this:
import { useState } from "react";
import { toppings } from "./utils/toppings";
import "./styles.css";

const getFormattedPrice = (price) => `$${price.toFixed(2)}`;

export default function App() {
  const [checkedState, setCheckedState] = useState(
    new Array(toppings.length).fill(false)
  );

  const [total, setTotal] = useState(0);

  const handleOnChange = (position) => {
    const updatedCheckedState = checkedState.map((item, index) =>
      index === position ? !item : item
    );

    setCheckedState(updatedCheckedState);

    const totalPrice = updatedCheckedState.reduce(
      (sum, currentState, index) => {
        if (currentState === true) {
          return sum + toppings[index].price;
        }
        return sum;
      },
      0
    );

    setTotal(totalPrice);
  };

  return (
    <div className="App">
      <h3>Select Toppings</h3>
      <ul className="toppings-list">
        {toppings.map(({ name, price }, index) => {
          return (
            <li key={index}>
              <div className="toppings-list-item">
                <div className="left-section">
                  <input
                    type="checkbox"
                    id={`custom-checkbox-${index}`}
                    name={name}
                    value={name}
                    checked={checkedState[index]}
                    onChange={() => handleOnChange(index)}
                  />
                  <label htmlFor={`custom-checkbox-${index}`}>{name}</label>
                </div>
                <div className="right-section">{getFormattedPrice(price)}</div>
              </div>
            </li>
          );
        })}
        <li>
          <div className="toppings-list-item">
            <div className="left-section">Total:</div>
            <div className="right-section">{getFormattedPrice(total)}</div>
          </div>
        </li>
      </ul>
    </div>
  );
}
Let's understand what we're doing here.
We've declared the input checkbox as shown below:
<input
  type="checkbox"
  id={`custom-checkbox-${index}`}
  name={name}
  value={name}
  checked={checkedState[index]}
  onChange={() => handleOnChange(index)}
/>
Here, we've added a checked attribute with the value of corresponding true or false from the checkedState state. So each checkbox will have the correct value of their checked state.
We've also added onChange handler and we're passing the index of the checkbox which is checked/unchecked to the handleOnChange method.
The handleOnChange handler method looks like this:
const handleOnChange = (position) => {
  const updatedCheckedState = checkedState.map((item, index) =>
    index === position ? !item : item
  );

  setCheckedState(updatedCheckedState);

  const totalPrice = updatedCheckedState.reduce(
    (sum, currentState, index) => {
      if (currentState === true) {
        return sum + toppings[index].price;
      }
      return sum;
    },
    0
  );

  setTotal(totalPrice);
};
Here, we're first looping over the checkedState array using array map method and If the value of the passed position parameter matches with the current index then we're reversing its value so If the value is true then it will be converted to false using !item and If the value is false then it will be converted to true.
If the index does not match with the provided position parameter then we're not reversing its value but we're just returning the value as it is.
const updatedCheckedState = checkedState.map((item, index) =>
  index === position ? !item : item
);

// the above code is the same as the below code

const updatedCheckedState = checkedState.map((item, index) => {
  if (index === position) {
    return !item;
  } else {
    return item;
  }
});
I used the ternary operator ?: because it makes the code shorter but you can use any one of them.
If you're not much familiar with how the array methods like
maporreduceworks then check out my this article.
Next, we're setting the checkedState array to the updatedCheckedState array. This is very important because If you don't update the checkedState state inside the handleOnChange handler then you will not be able to check/uncheck the checkbox.
This is because we're using the checkedState value for the checkbox to determine if the checkbox is checked or not as it's a controlled input as shown below:
<input
  type="checkbox"
  ...
  checked={checkedState[index]}
  onChange={() => handleOnChange(index)}
/>
Note that we've created a separate updatedCheckedState variable and we're passing that variable to the setCheckedState function and we're using the reduce method on updatedCheckedState and not on the original checkedState array.
This is because by default the setCheckedState function used to update the state is asynchronous.
Just because you called the setCheckedState function does not guarantee that you will get the updated value of the checkedState array in the next line.
So we've created a separate variable and used that in the reduce method.
Check out my this article if you're not familiar with how the state works in React.
Then to calculate the total price, we're using the array reduce method:
const totalPrice = updatedCheckedState.reduce(
  (sum, currentState, index) => {
    if (currentState === true) {
      return sum + toppings[index].price;
    }
    return sum;
  },
  0
);
The array reduce method receives 4 parameters out of which we're using only 3 which are sum, currentState and index. You can use different names if you want as they're just parameters.
We're also passing 0 as the initial value also known as the accumulator value for the sum parameter.
Then inside the reduce function, we're checking If the current value of the checkedState array is true or not.
If it's true that means the checkbox is checked so we're adding the value of corresponding price using sum + toppings[index].price.
If the checkedState array value is false then we're not adding its price but just returning the calculated previous value of sum.
Then we're setting that totalPrice value to the total state using setTotal(totalPrice)
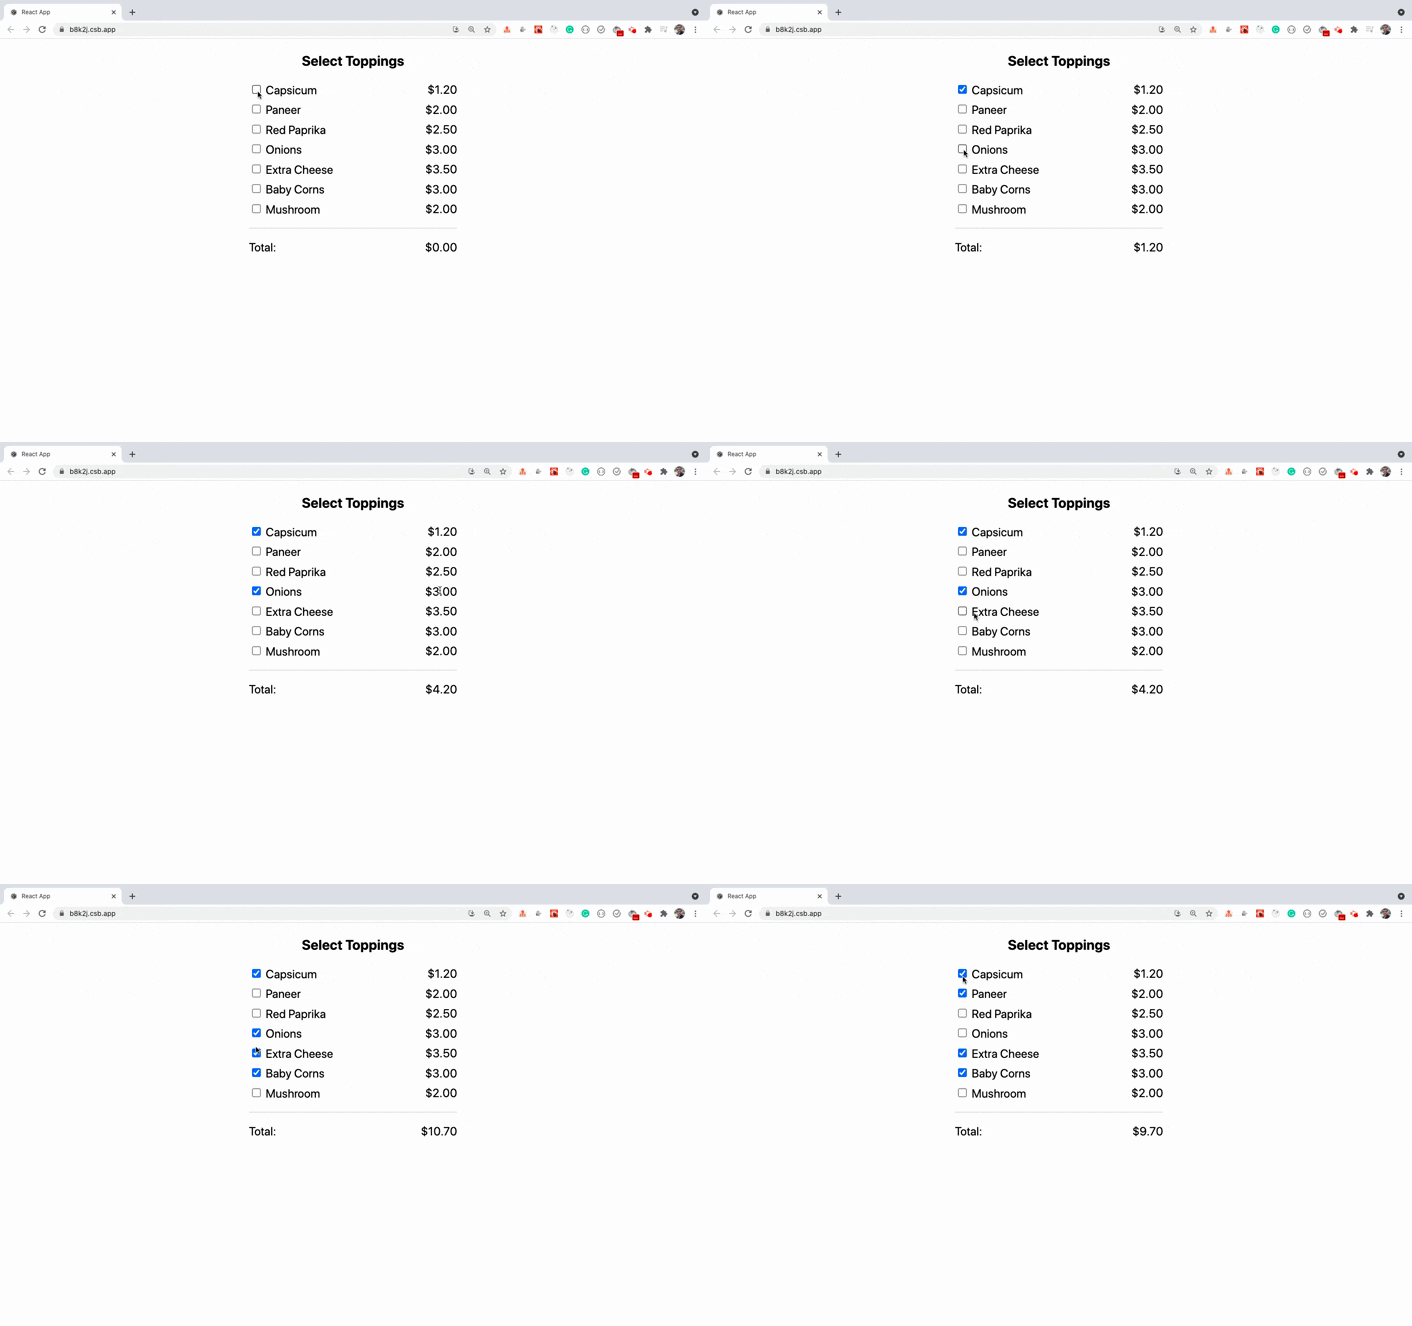
This way we're correctly able to calculate the total price for selected toppings as can be seen below.

Here's a Preview link of the above Code Sandbox demo to try it yourself.
Thanks for reading!
Most developers struggle with understanding how Redux works. But every React developer should be aware of how to work with Redux as industry projects mostly use Redux for managing larger projects.
So to make it easy for you, I have launched a Mastering Redux course.
In this course, you will learn Redux from the absolute beginning and you'll also build a complete food ordering app from scratch using Redux.
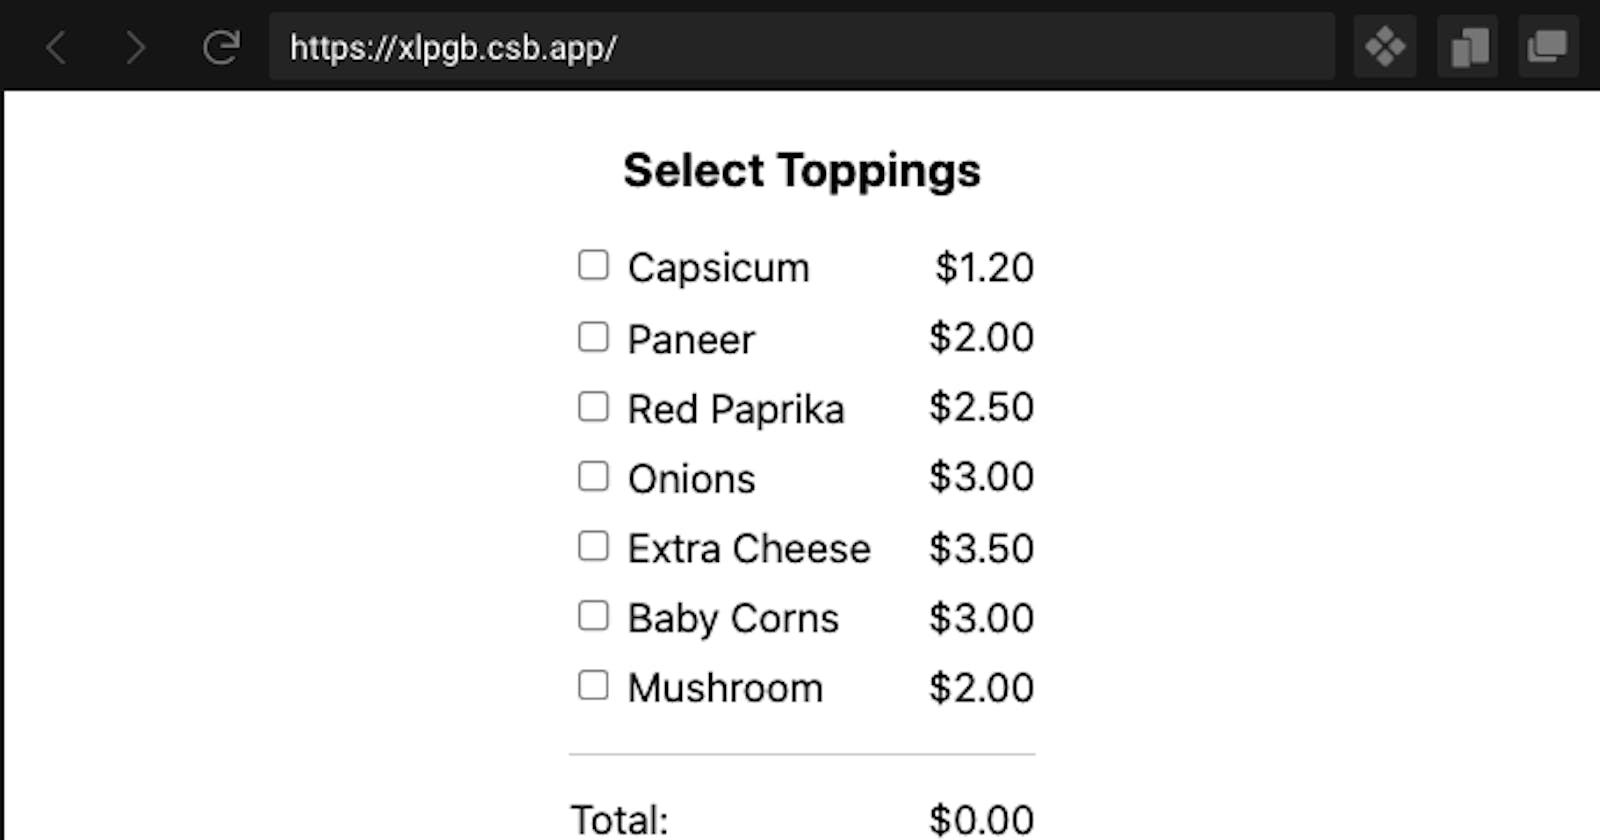
Click the below image to join the course and get the limited-time discount offer and also get my popular Mastering Modern JavaScript book for free.
Want to stay up to date with regular content regarding JavaScript, React, Node.js? Follow me on LinkedIn.


