How to Easily Create and Host Your Own REST API Without Writing A Single Line of Code
In this article, you will see how to easily create your own REST API server to be accessible on the internet without coding and without the need of hosting it on any hosting provider.
So let's get started.
Setup local environment
- Create a new folder with the name
users-api-server. - Navigate inside the folder from the command line and execute the following command
npm init -y
This will create a package.json file inside your project.
- Install the
json-servernpm package by executing the following command
npm install json-server
Create a new file with the name
.gitignorewith the entry fornode_modulesinside it so thenode_modulesfolder will not be pushed to GitHub while pushing the code to the GitHub repository.Create a new file with the name
db.jsonand add the following contents inside it:
{
  "users": [
    {
      "id": 1,
      "name": "David",
      "age": 30
    },
    {
      "name": "John",
      "id": 2,
      "age": 40
    }
  ]
}
- Open
package.jsonfile and add thescriptssection inside it:
"scripts": {
  "start": "json-server db.json"
}
Now, start the application by running the
npm startcommand from the terminal.You will see the following screen when you access it at localhost:3000

- If you click the
/userslink under theresourcessection, you will see the following screen

Tip: To get the nice formatted JSON output as shown above, install the JSON Formatter browser extension
Congratulations! you've just written your own REST API server without writing a single line of code
Now we can make
GET,POST,PUT,PATCHandDELETEAPI calls to our own API.
Making Get API request to get all users

Making POST API request to add a new user

Making PUT API request to update a user

Making DELETE API request to delete a user

Save the changes
Now, you've made some API calls to our application.
If you want to save the final result of those API calls, you can press the s key from your keyboard and hit the enter key which will save the snapshot of the changes in a separate file as can be seen in the terminal.


Deploy the application
Deploying the application which uses json-server is very easy.
You just have to create a GitHub repository and push your local changes to that repository and access it with a specific URL from the browser.
Follow the following steps to do it:
- Navigate to this url to create a new GitHub repository
- Enter the name of the repository you want, make it public and click on the
Create repositorybutton

You will see the following screen

Copy the URL which says
git remote add- Now open a terminal in your project and first execute
git init .(git init dot)command and then paste the copied URL in the last step and press enter

- These two commands will make your project a git repository and point your local git repository to GitHub
- So now we can push the changes to GitHub by executing the following commands in sequence
- git add --all .
- git commit -m "your_commit_message"
- git push origin master
- Once the changes are pushed to the repository you can access your
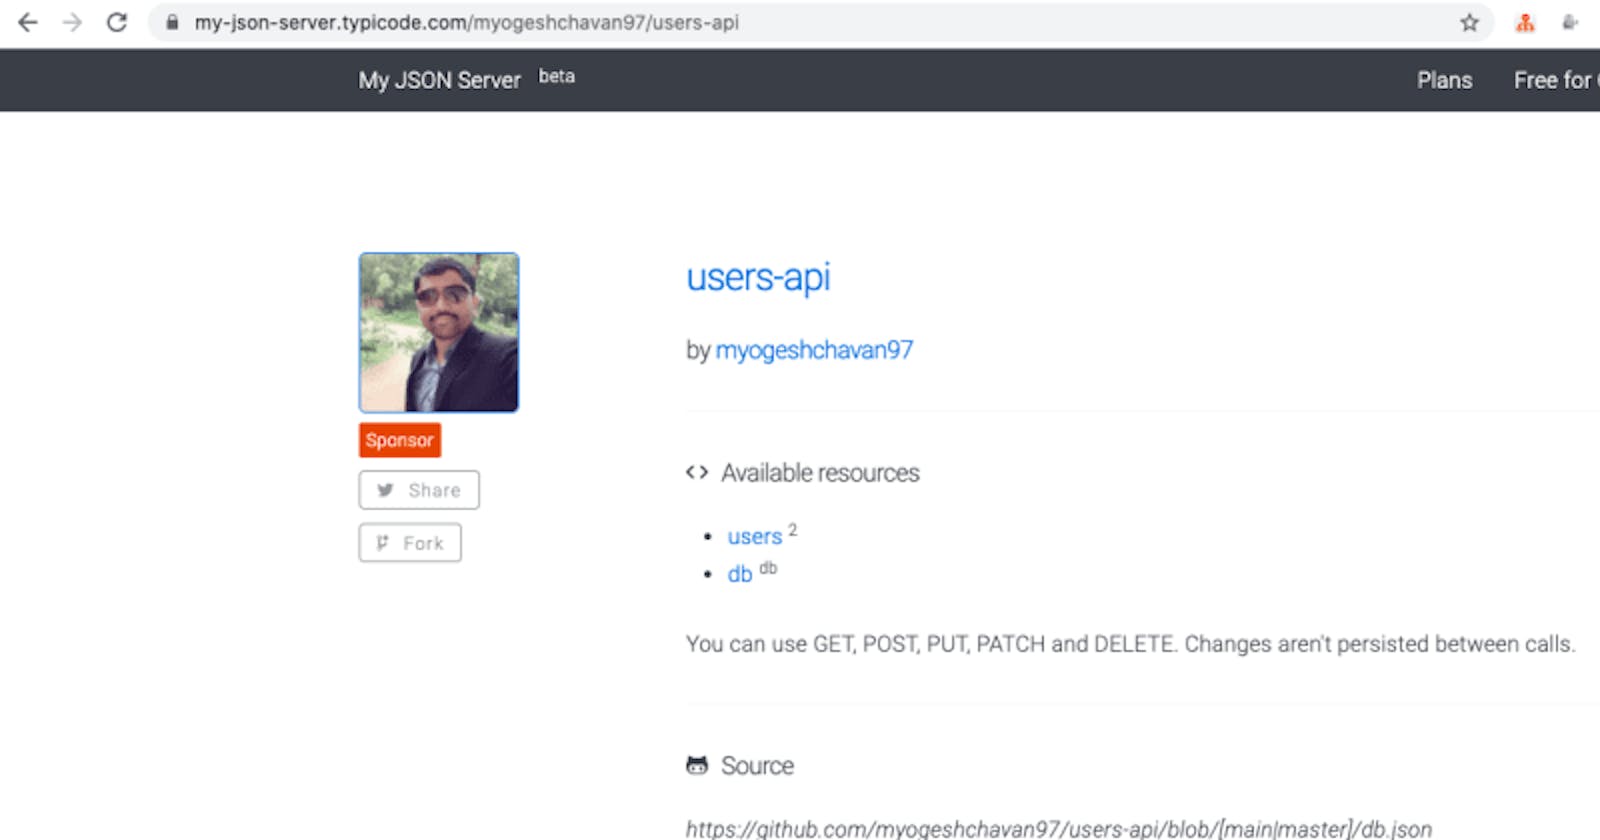
json-serverby navigating tohttps://my-json-server.typicode.com/your_github_username/your_repository_namefor example my-json-server.typicode.com/myogeshchavan97..
That's it! You have deployed your API live to the web so anyone can use your API now.
Deployed live

Complete API

Users API

Access Individual User by their id

Note: To deploy the
json-serverlive as we have seen, you actually only needdb.jsonfile in your project. There is no need of installing thejson-servernpm package locally inside thepackage.jsonfile. We installed it locally so we can test our API locally before making it live.
The beauty of using json-server is that, when you access your API using https://my-json-server.typicode.com/ URL, it does not change your original db.json file. So each user will get the same copy of db.json API.
Only when you test locally using json-server, original db.json file will be modified.
You can learn more about json-server here.
Conclusion
As you have seen, by creating only db.json file inside the project folder and providing JSON object structure in that file, you can create your own REST API server available live on the internet without even the need for hosting it.
This is really useful If you want to demo something without setting up your own API server.
You can find the complete source code for this application in this repository.
Thanks for reading!
Want to learn all ES6+ features in detail including let and const, promises, various promise methods, array and object destructuring, arrow functions, async/await, import and export and a whole lot more from scratch?
Check out my Mastering Modern JavaScript book. This book covers all the pre-requisites for learning React and helps you to become better at JavaScript and React.
Check out free preview contents of the book here.
Also, you can check out my free Introduction to React Router course to learn React Router from scratch.
Want to stay up to date with regular content regarding JavaScript, React, Node.js? Follow me on LinkedIn.


